Media Channel Wizard
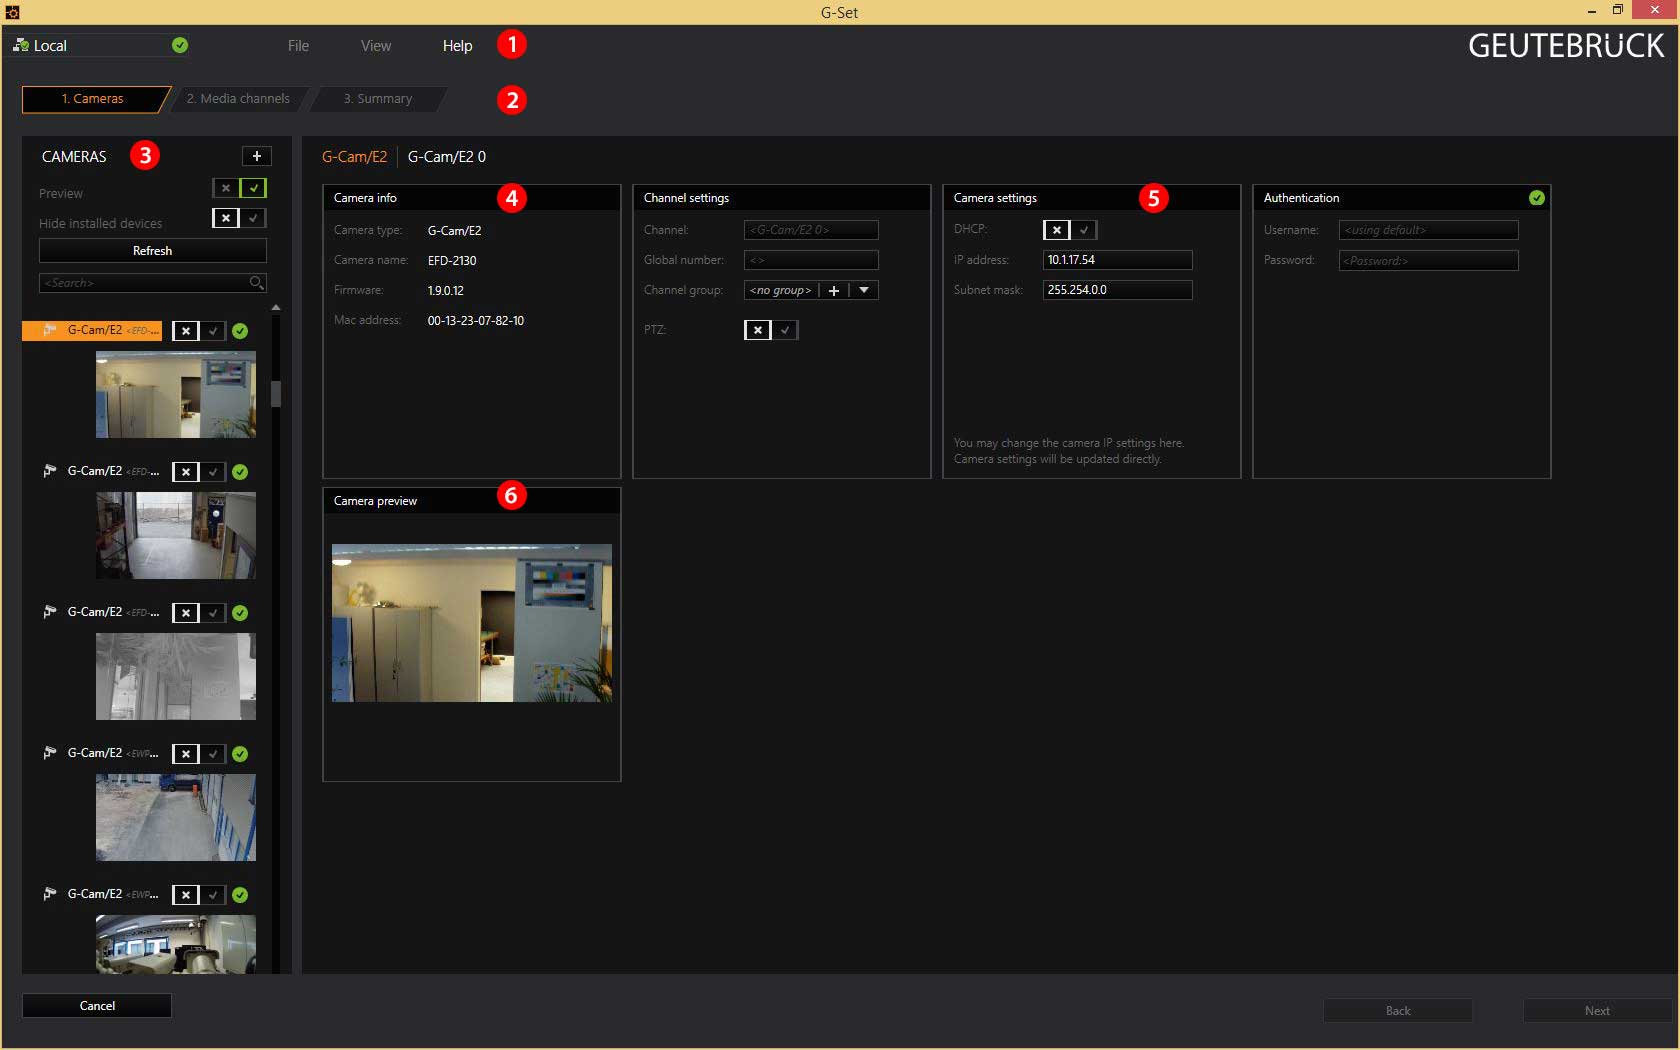
After opening the Media Channel Wizard, you will see the following 6 areas:
|
|
Area |
Description |
|---|---|---|
|
|
The command bar |
The command bar contains buttons for basic editing. |
|
|
The steps for the configuration of the media channels |
The wizard guides you through the configuration in three steps: Setting up the cameras, configuring the media channels, checking the overview of the settings. |
|
|
A list of available cameras on the network |
List of detected network cameras and the ability to add cameras manually. |
|
|
A dialog for general information |
Settings for channel name, global number and channel-group assignment. |
|
|
A dialog for camera settings |
Here you set the connection information to the camera. |
|
|
A preview image |
Displays a preview image of the selected camera. |
In the Cameras area ![]() you will find a number of buttons:
you will find a number of buttons:
|
Button |
Description |
|---|---|
|
Preview |
Here you can specify whether a preview of the found cameras will be shown. |
|
Refresh |
Clicking on this button initiates another search from cameras in the server |
|
Search |
Search supports filtering the camera list. Among other criteria, you can search according to Mac address (example: ff-ff-ff-ff-ff-ff] , IP address (example: 127.0.0.1), camera type, camera name, firmware |
In addition a green checkmark indicates that the username and password of the camera are known. Otherwise a red cross is displayed.
Cameras
The Media Channel Wizard automatically searches for existing network cameras and displays them in the first column ![]() . Cameras for which access rights are available are also displayed with a small camera image.
. Cameras for which access rights are available are also displayed with a small camera image.
You can now select the desired camera and edit the general information and the camera-specific data edit (![]() and
and ![]() ).
).
If your camera cannot be found or if you want to add a camera manually, you can open the Manually add camera menu. Select the camera manufacturer and follow the instructions.
The menu to manually cameras is opened by clicking [+] (right next to CAMERAS).
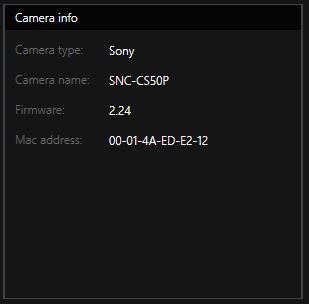
Camera Info and Channel Settings
|
|
In addition to the firmware version of the selected camera, the Camera info dialog also displays its MAC address. In addition, the Camera name also appears for a configured camera.
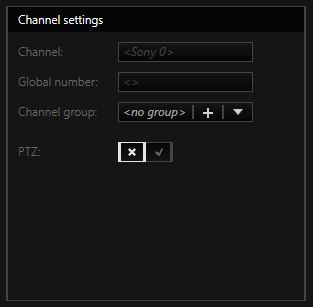
You can give the media channel of the camera an easy-to-remember name (Channel) and assign the channel to a Channel group.
Channel groups are used to make it easier to allocate cameras. Especially for larger projects, it can be useful to create these groups in order to control multiple, associated cameras (and their channels). An example of a group could be all the cameras in a main entrance area (for example, the group could be called MainEntrance) or all the cameras around the north parking lot (ParkingN).
If there is no compelling reason to do so, you should not change the automatically assigned global number. It is used for system-(network-)wide identification and it is also used in numerous locations in Geutebrück system.
Camera Settings
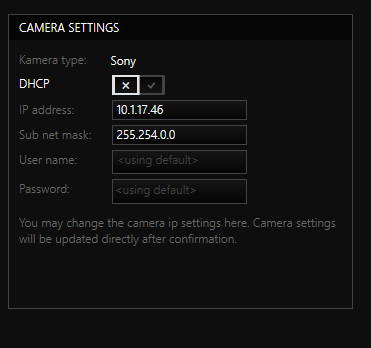
The Camera Settings dialog shows you the camera type and lets you decide whether you want to use DHCP. DHCP status (activated/not activated) is shown.
The setting can be adjusted here. If the DHCP button is grayed out, changing the DHCP settings is not supported for this camera or the username/password are not known to the camera.
If you are not using DHCP, enter the IP address of the camera and the subnet mask in this dialog.
The settings for the camera are completed once you enter the username and password. Without this information, you can not access the camera.
Media Channels
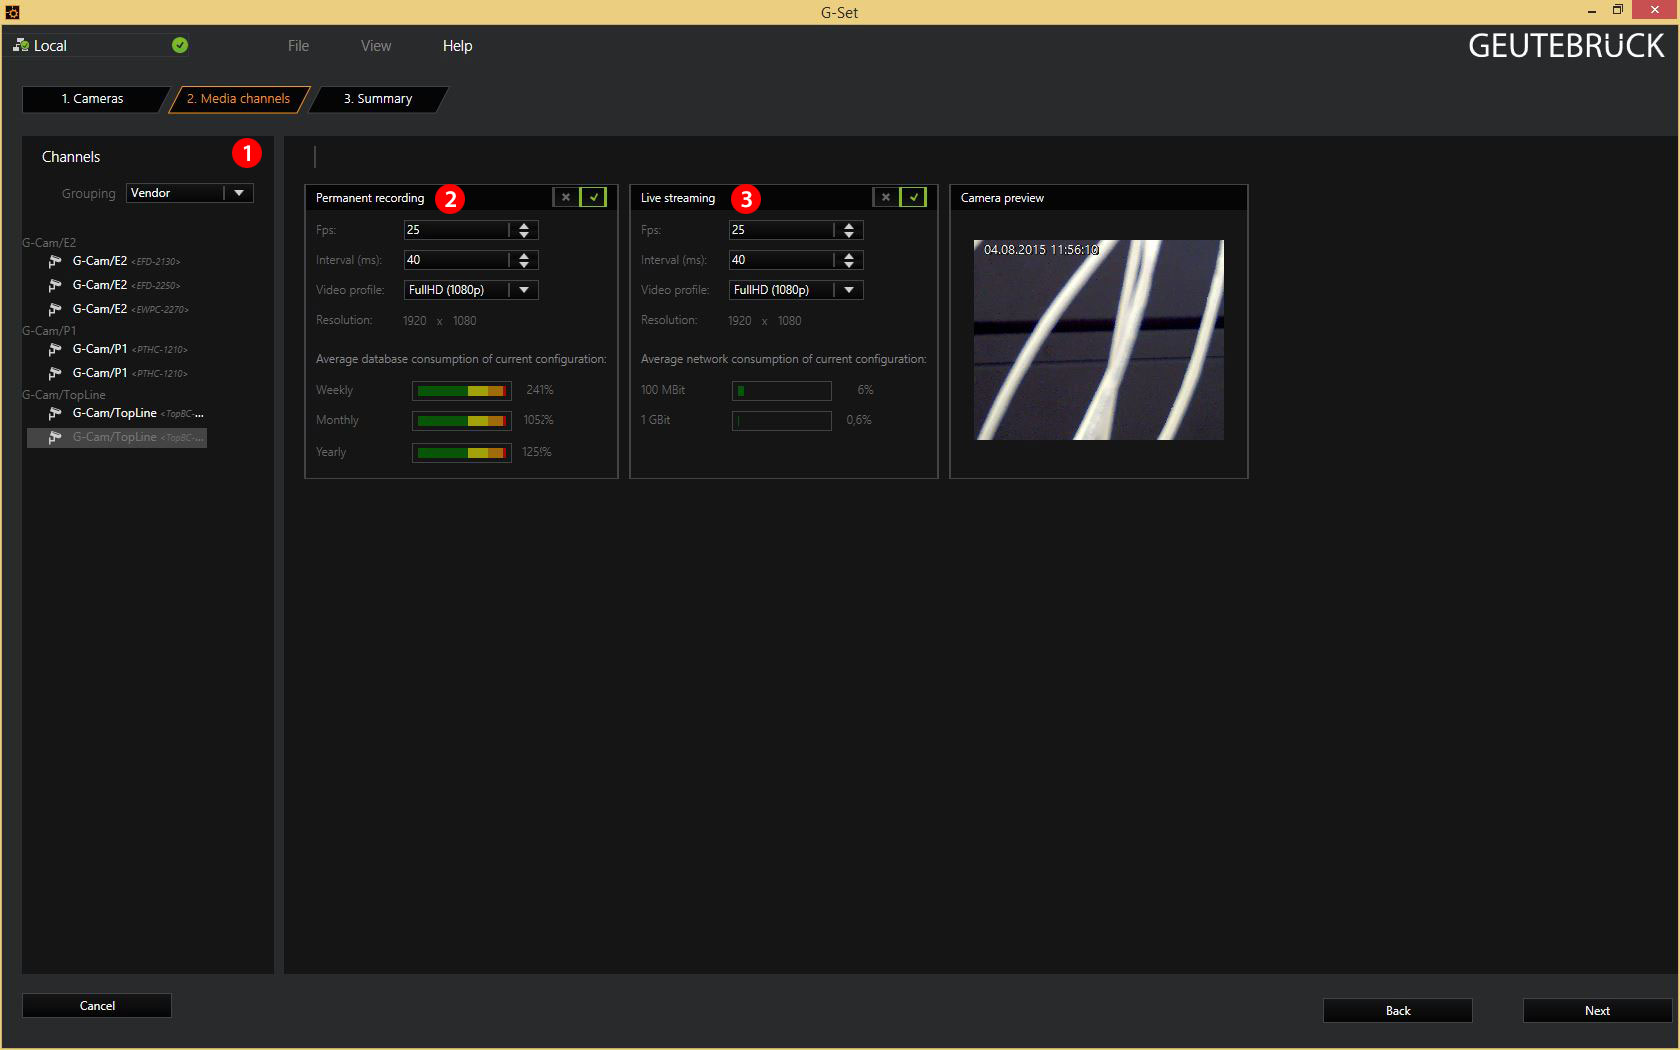
In the second step of the configuration, in the Media channels dialog, we will run into a number of objects that we saw in the first step: The command bar, the selection of the configuration steps and the camera preview.
Continue the configuration by selecting a camera ![]() , and then configure the settings for permanent recording and for live streaming.
, and then configure the settings for permanent recording and for live streaming.
Under Grouping, you can select how the list will be sorted. Multiple selection is possible!
Permanent Recording
Permanent recording requires a few settings:
| Parameter | Description |
|---|---|
| FPS | Recording rate in FPS (frames per second) |
| Interval (ms) | Interval: A frame every X ms |
| Video profile | Selection of a preset profile (see table below) |
| Resolution | Resolution of the image in pixels |
Permanent recording is enabled by default. However, please note that you will only be able to find the recorded images if you have created a database. Without a database, the images from permanent recording will be deleted. For more information on the database, click here.
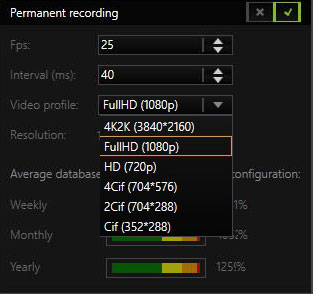
Under Video Profile a profile configured under G-Set can be selected for the camera.
The video profiles only describe reference values. The resolution can vary for specific cameras. The resolution of the camera that corresponds most closely to the reference value will be used.
Live Streaming
Live Streaming is enabled by default, but it requires a few additional settings to be made:
| Parameter | Description |
|---|---|
| FPS | Recording rate in FPS (frames per second) |
| Interval (ms) | Interval: A frame every X ms |
| Video profile | Selection of a profile (see table below) |
| Resolution | Resolution of the image in pixels |
Click 3. Summary ![]() to show the configurations of the cameras and media channels. Alternatively, you can first configure additional media channels.
to show the configurations of the cameras and media channels. Alternatively, you can first configure additional media channels.
The values shown below for database memory and network load are only "estimate" values and can deviate!
Summary
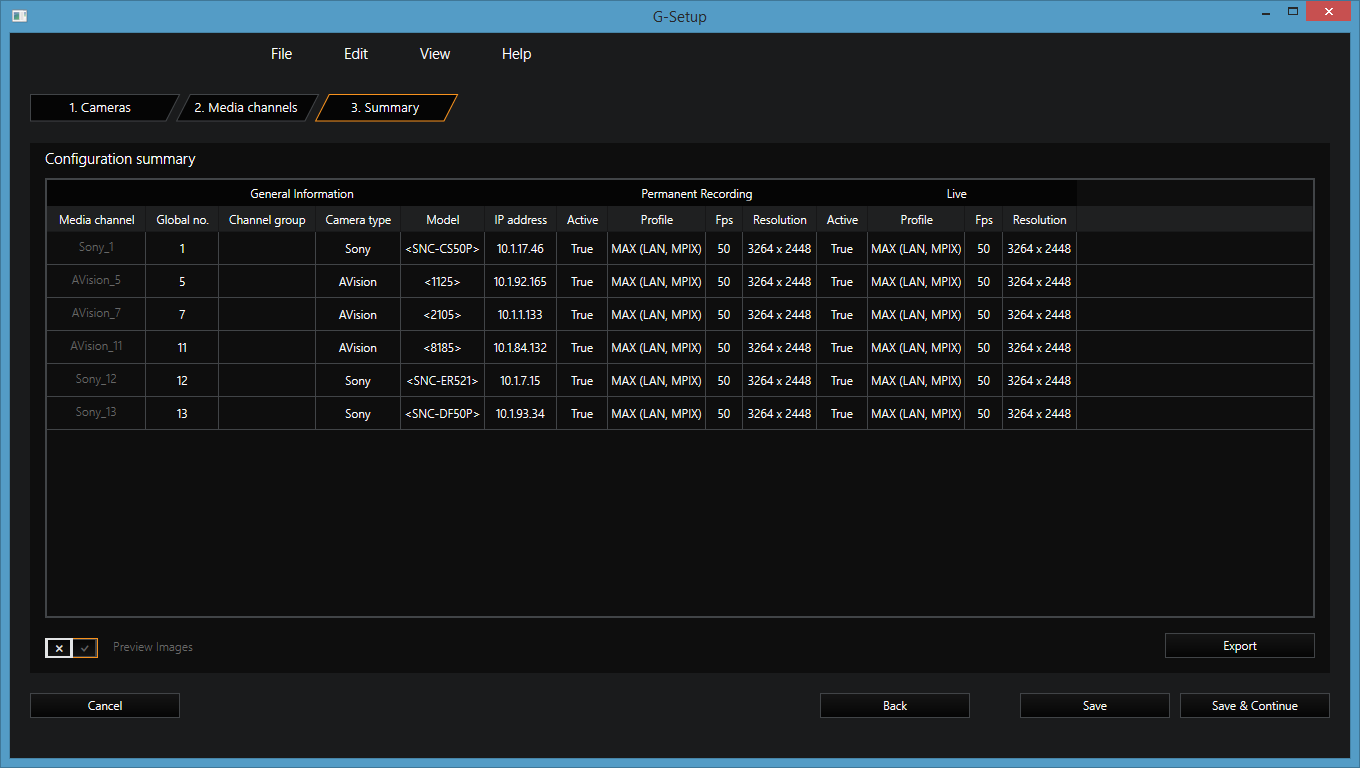
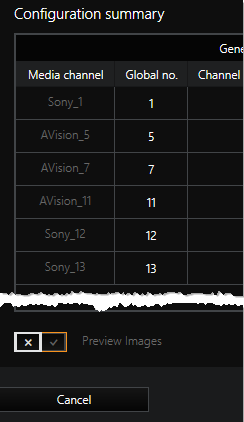
The summary provides you with an overview of all the settings that have been defined. For cameras, you can select from two views. To do so, use the Preview Images switch:
|

|
| Default view | Preview |
Clicking on Export opens a dialog with which you can save the summary table as an Excel file (*.xlsx).
In the Summary you cannot make any changes to the configuration! Changes can only be made in the Camera and Media Channels tabs.
When you click Finish the settings are written to the Local Setup and the wizard is closed. The event configuration is now available in G-set for further processing.
The configuration is immediately sent to the server by clicking on the icon  !
!