Views
In the Views menu you can create and configure views consisting of at least one viewer. The interface includes the Toolbar, a list of existing views ![]() and a settings area
and a settings area![]() with a selection bar consisting of the tabs Viewer matrix, Options and Info.
with a selection bar consisting of the tabs Viewer matrix, Options and Info.
Toolbar
|
Icon |
Description |
|---|---|
|
|
Save settings |
|
|
Copy selected view |
|
|
|
|
|
Add new view |
|
|
Delete selected view |
|
|
Export matrix to file |
|
|
Import matrix from file |


Default Views
The following series of views is configured as a default. To add new views manually see Create New Views
|
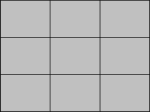
16:9 Matrix 1x1 |
16:9 Matrix 2x2 |
16:9 Matrix 3x3 |
|---|---|---|
|
|
|
|

|
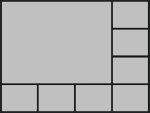
Matrix 1x1 |
Matrix 1x1 full |
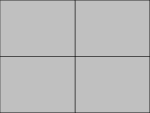
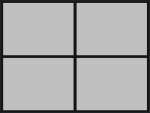
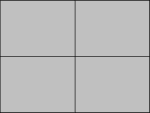
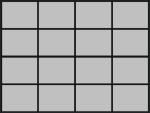
Matrix 2x2 |
Matrix 2x2 full |
|---|---|---|---|
|
|
|
|
|
|
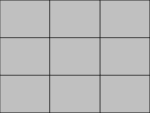
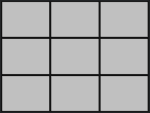
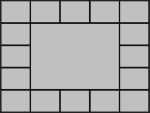
Matrix 3x3 |
Matrix 3x3 full |
Matrix 4x4 |
Matrix 4x4 full |
|---|---|---|---|
|
|
|
|
|
|
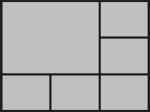
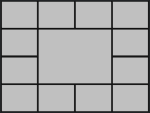
Matrix 1_5 |
Matrix 1_7 |
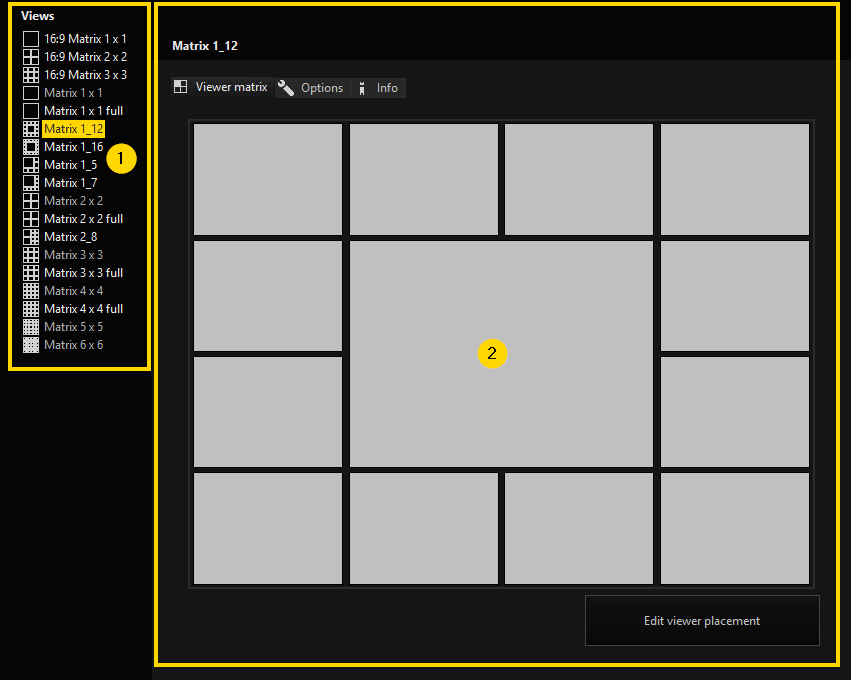
Matrix 1_12 |
Matrix 1_16 |
|---|---|---|---|
|
|
|
|
|
|
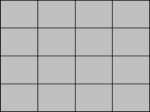
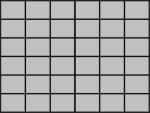
Matrix 5x5 |
Matrix 6x6 |
|---|---|
|
|
|

Create New Views
In addition to the default views, individual views can also be created.
Create a new views using the  button or right click in the views list and select Add.
A new view named New View (No.) will be created and added to the Views list. The name can be changed by right clicking on the view and choosing Rename.
Edit Views
A view can be edited in the settings area ![]() . Select the view you want to edit and the specific settings area will open.
. Select the view you want to edit and the specific settings area will open.
In the selection bar of the settings area you can choose between the setting tabs Viewer matrix, Options and Info.
Viewer Matrix
The viewer matrix setting tab shows a preview of the actual arrangement of viewers of the chosen view.
To edit the arrangement click on the Edit viewer placement button and a new window will open, in which you can edit the desired viewer and its placement. Each viewer can be assigned an index, a position and a format. The viewers position is specified via x, y and z coordinates.
Example
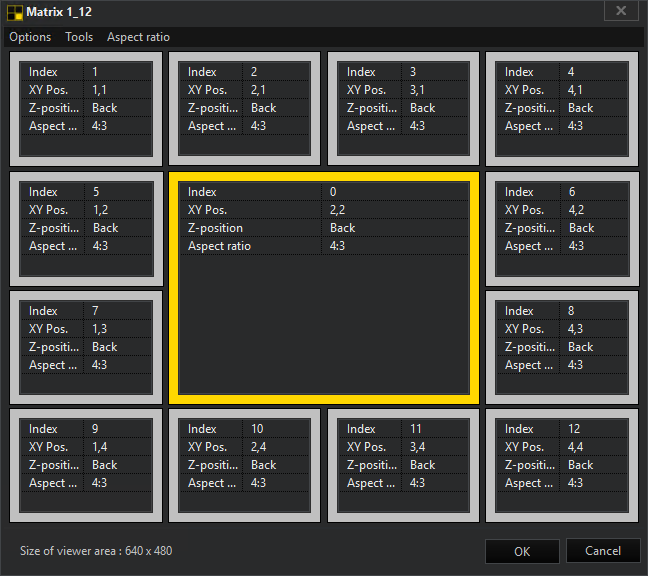
The context menu will help you edit individual desired viewers and their placement. Use a right click to open the context menu with the following edit options:
|
Context menu |
Function |
|---|---|
|
New viewer |
A new viewer will be added |
|
Copy viewer |
Copies the selected viewer This helps you to get viewers of the same size |
|
Delete viewer |
Deletes the selected viewer |
|
Combine selection |
Combines the selected viewers to one viewer |
Every viewer itself can be manually adjusted in size and position. Addtionally unnecessary viewers can be deleted or viewers can be combined.
For some functions viewer need to be selected. To select a viewer left click on it.
All selected viewers will be framed in yellow.
In addition to creating and editing individual viewers, entire viewer matrices can also be created at once. To create a viewer matrix, clicking on Tools and then Create matrix. In the up coming window a matrix size can be defined by highlighting the shown squares yellow for every viewer that should be added.
Example 
Options
Appearance
Under Appearance you can hide the chosen view from users ticking the box of Hide from users as well as be able to add a background image to your view. For this tick the box of Background image and select a background image you want to add.
Execution
In Execution you can specify how to deal with viewers and connected media channels of a previous view in case of changing it into a new view. You can choose between the options to clear all viewers before applying the new view with it matrix or to take the media channels form the previous view matrix and apply them to the new view using the x, y coordinates that are defined in the view.
To activate one of these option tick the appropriate box next to the option.
Window
Under Window you can define a specified window where the view should be shown only. The default is No restriction.
Info
In the Info setting tab a name and a description for the view can be set.
To save the changes use the  button in the toolbar.