SAML Authentication
SAML (Security Assertion Markup Language) is an XML-based standard that enables the secure exchange of authentication and authorization data between an Identity Provider (IdP) and a Service Provider, such as G-SIM. By connecting an Identity Provider to G-SIM via SAML authentication, existing user accounts can be used to log in to the Operator Console.
To do this, you must install the SAML Authentication service together with the Operator Console (see Install SAML Authentication Service), set up the Identity Provider (see Set Up Identity Provider) and set up G-SIM as the Service Provider (see Set Up G-SIM as Service Provider). You can then log in to the Operator Console as an external user (see Log In as External User).
Limitation: Only the Application username from the profile settings of the Identity Provider is transferred to G-SIM (e.g. for OKTA this is the users e-mail). All other profile settings are ignored.
Requirement:
Open the following ports for using SAML authentication:
- TCP 7191: Port for G-SIM SAML authentication.
- TCP 7920: Port for the SAML connection between the Operator Console and the G-SIM server.
Install SAML Authentication Service
Install the SAML Authentication service together with the Operator Console using the G-SIM installer on each server that is to have the external login function.
-
Run the
G-SIM_Installer_xxx.exefile on the Operator Console server. -
In the License Agreement dialog window, select the option I Accept the agreement and click Next.
-
In the Select Components dialog window, select SAML Authentication and Operator Console Files.

-
Click Next and follow the further installation steps (see Software Installation).
-
In the Ready to Install dialog window, click Install.
Set Up Identity Provider
Set up the Identity Provider that you want to use for SAML authentication in G-SIM. The user interface and terminology may differ between Identity Providers, but the required configuration steps are generally the same.
- In the Identity Provider, create a new SAML application or register a new Service Provider.
-
Configure the SAML settings for the created application and enter the information for G-SIM as the Service Provider:
SAML Setting
Description
G-SIM Information to be provided
Entity ID
Uniquely identifier of the Service Provider.
This is user-defined, enter a unique identifier (e.g.,
GSIM.SAML).Assertion Consumer Service (ACS) URL
The URL to which the Identity Provider sends the SAML response after successful authentication.
https://localhost:7191/Auth/AssertionConsumerServiceSign on URL
The URL that redirects the user to the login page of the Identity Provider.
https://localhost:7191 -
Configure which user attributes are included in the SAML assertion.
-
Activate the signing of the SAML response or assertion.
-
Upload the certificate file
SAML.pfx. You will find the certificate after installing the SAML Authentication service in the folderC:\Program Files\Geutebrueck\G-SIM\GSIM.SAML.The
SAML.pfxcertificate is the default certificate created by G-SIM. You can also generate your own certificate and use it in the Identity Provider. To do so, copy the created certificate in theGSIM.SAMLfolder. Then register the certificate in theappsettings.jsonfile by adjusting theSigningCertificateFileandSigningCertificatePasswordsettings. You must do this on all Operator Console servers where the SAML Authentication service is installed. -
Configure the valid X.509 certificate. Use a signature algorithm based on SHA-256.
-
Assign users or user groups that are allowed to authenticate with this SAML application.
-
After completing the configuration, the Identity Provider provides its metadata, which must be made available to G-SIM in order to establish the trust relationship between the Identity Provider and the Service Provider. To do so, copy the metadata URL.
Set Up G-SIM as Service Provider
Set up G-SIM as the Service Provider to enable the SAML authentication.
Set Up SAML Settings
Set up the settings for the SAML authentication in the Management Console in order to trust the relationship between the Identity Provider and G-SIM as the Service Provider.
-
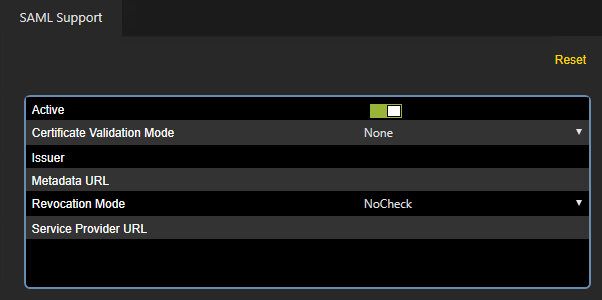
In the Management Console, navigate to Server Setup > System Settings > SAML Support.
-
Enable the Active slider to activate the SAML authentication.
-
Specify the SAML settings:
Setting
Description
Certificate Validation Mode
Select the mode for validating the certificate.
Issuer
Enter the Entity ID you have specified in the Identity Provider for the G-SIM application (see Set Up Identity Provider).
Metadata URL
Enter the copied metadata URL from the Identity Provider (see Set Up Identity Provider). This setting is mandatory.
Revocation Mode
Select the mode for checking the revocation of X.509 certificates.
Service Provider URL
Enter the URL of the SAML Authentication service that is installed together with the Operator Console. The default URL is
https://localhost:7191. -
Click Save.
Enable SAML Connection
Enable the SAML connection between the Operator Console and the G-SIM server by adding a user with the Web API privilege. This user acts as an administrative SAML user who must log in to the SAML settings in the Operator Console to establish the SAML connection.
-
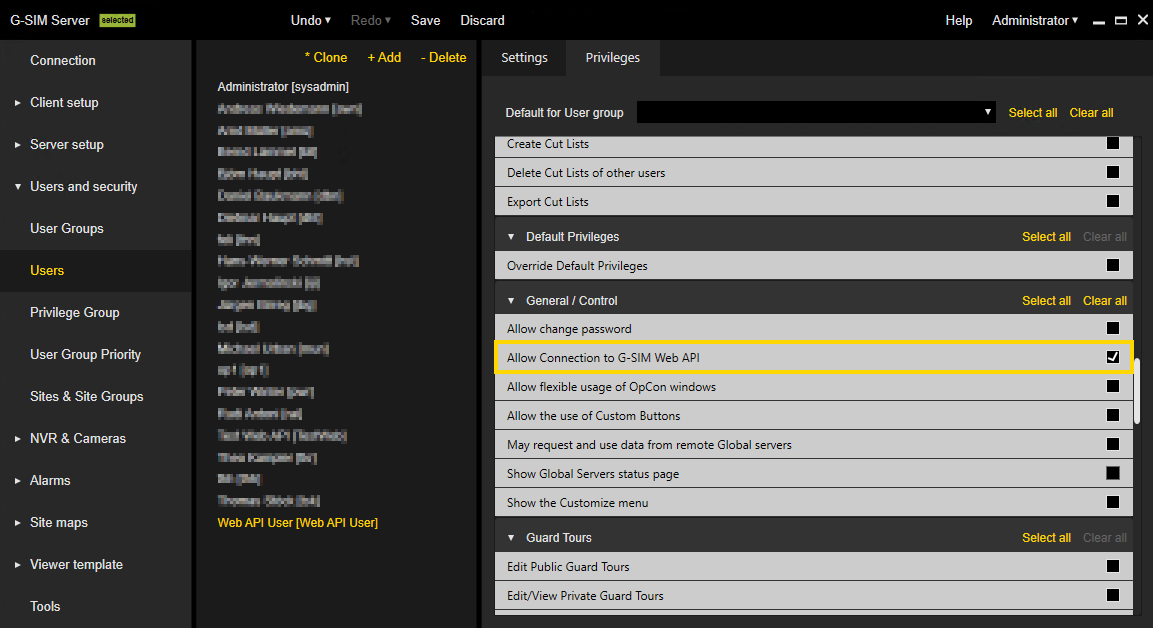
In the Management Console, navigate to Users and security > Users.
-
Add a new user.
-
Enable the user privilege Allow Connection to G-SIM Web API for this user. If this privilege is enabled for the user, all other privileges are disabled and the user cannot log in to the Management Console and make changes.
-
Click Save.
-
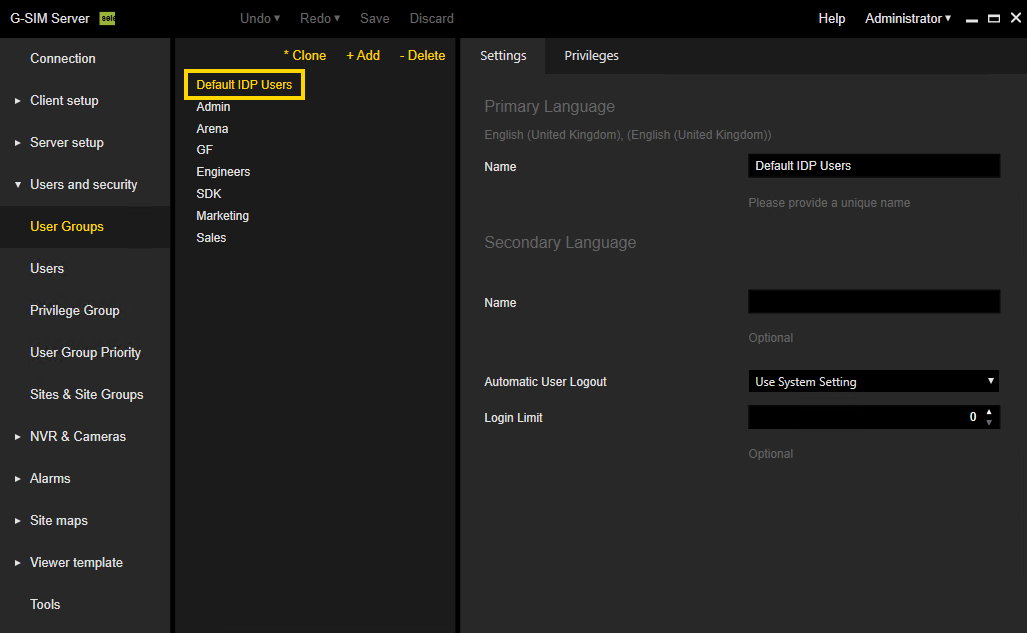
A user group named Default IDP Users has been created. Adjust the permissions for this user group; no permissions are assigned by default.
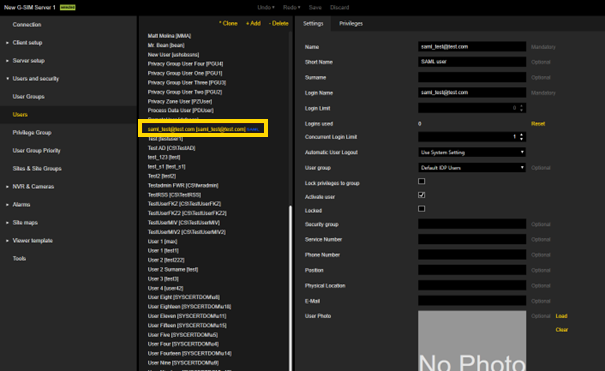
After the first login, external users are automatically added under Users, marked as SAML users and are assigned to this user group. You can subsequently assign the users to another group.
-
Open the Operator Console.
-
In the login window, click Settings. The Settings dialog window opens.
-
In the Additional Settings tab, enter the username and password of the administrative SAML user in the SAML Settings section.
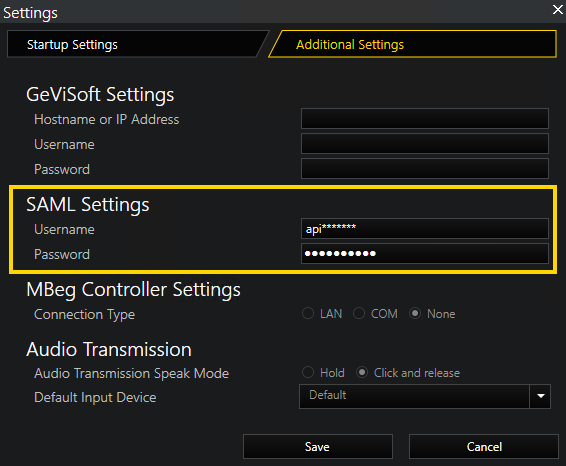
-
Click Save. The login window opens, now you can log in to the Operator Console as external user (see SAML Authentication).
Test SAML Authentication
Test whether your SAML authentication works by using the G-SIM SAML-Configuration tool on the Operator Console server.
-
Open the URL
https://localhost:7191on the Operator Console server. The G-SIM SAML-Configuration tool opens and displays the current SAML settings of the G-SIM server.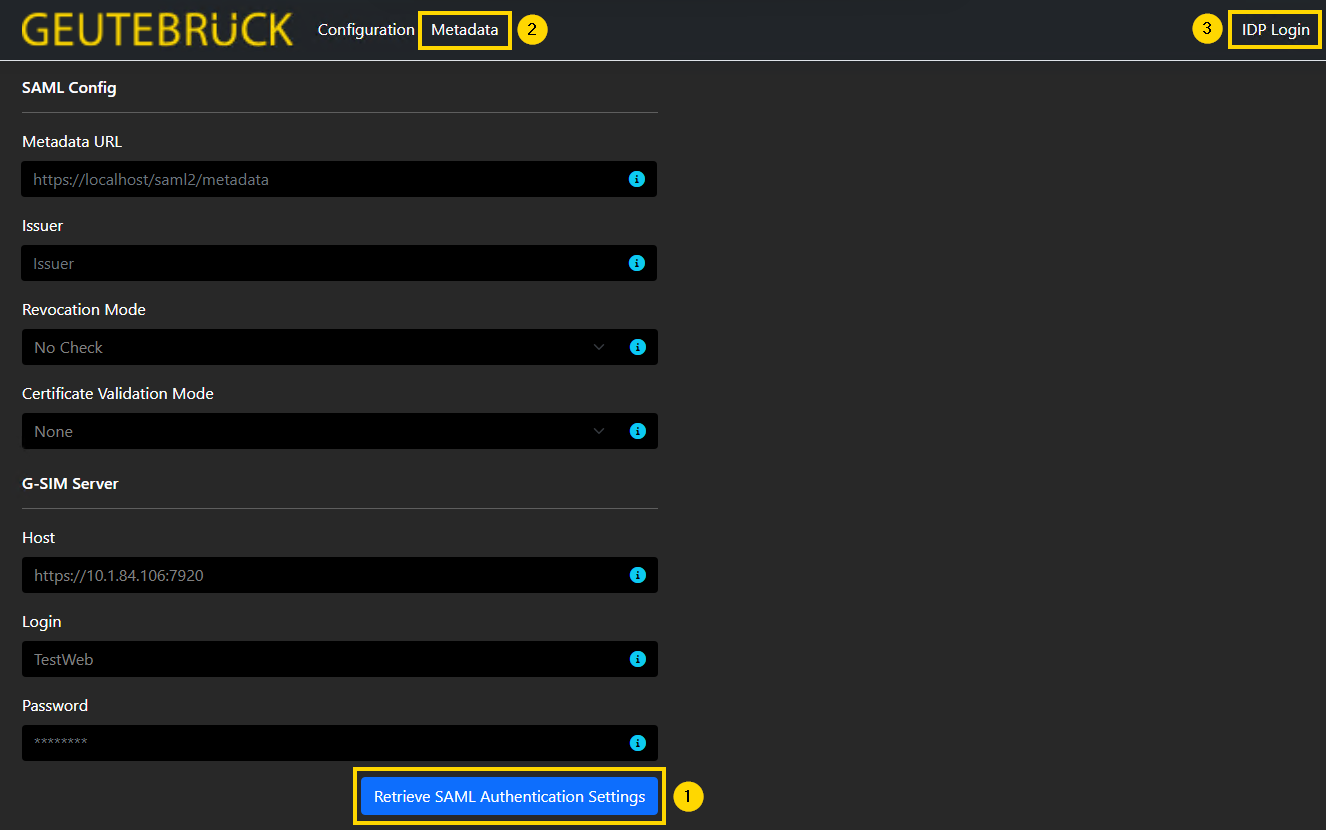
-
Click the Retrieve SAML Authentication Settings button
 to test the SAML connection between the Operator Console server and the G-SIM server. The SAML settings should be reloaded from the G-SIM server.
 -
Click the Metadata button
 to test the SAML connection between G-SIM and the Identity Provider server. The metadata file should open.
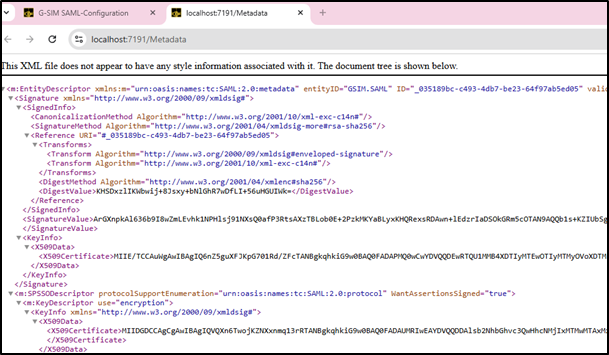
-
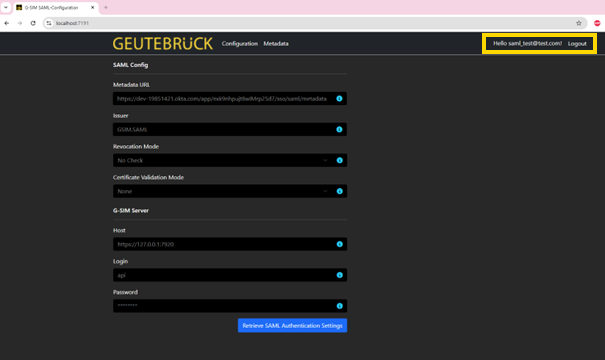
Click the IDP Login button
 to test whether external users can log in. The login page of the Identity Provider should open.
 -
Enter your login data. If the login was successful, you are logged in as an external user in the G-SIM SAML-Configuration tool.
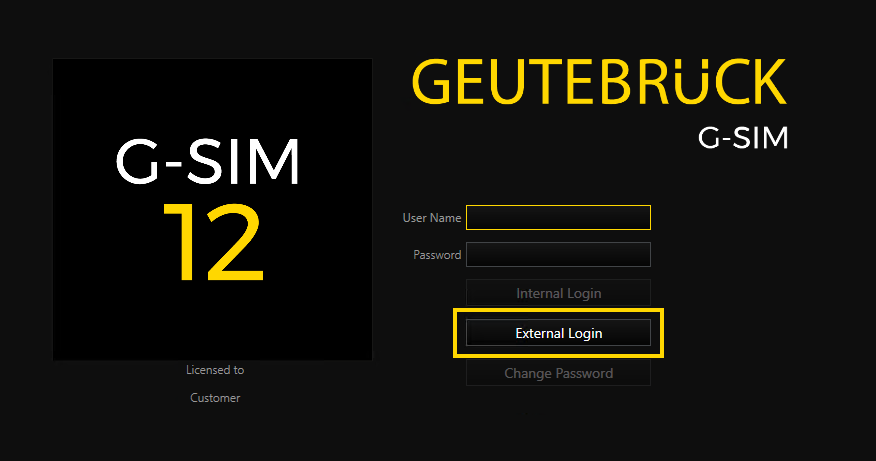
Log In as External User
If the SAML authentication is successful configured, you can log in to the Operator Console as external user.
-
Open the Operator Console.
-
In the login window, click the External Login button.
-
The login page of the Identity Provider opens. Enter your login data.
-
After successful login, the Operator Console opens and you are logged in as external user.

After the first login, external users are automatically added in the Management Console under Users, marked as SAML users and are assigned to the Default IDP Users user group. You can subsequently assign the users to another group.