Tabbed Lists
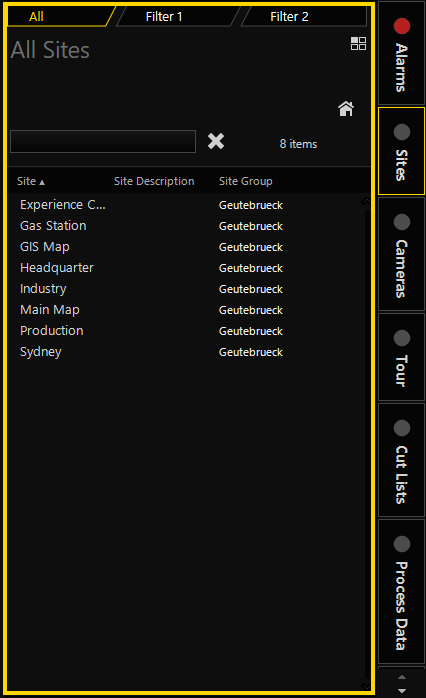
Operational data are displayed as lists that are accessed through the menu tabs. Each menu tab contains an individual tabbed list area which is adjustable in size. By default the menu tabs and tabbed lists are displayed on the right hand side of monitor 1. Tabbed lists can be displayed either on the left or right hand side of the main interface, while the menu tabs may be positioned beside or above them.
Which tabbed lists are visible depends on the individual user privilege settings.
The tabbed lists contain all system items you may want to use or access. Items may be dragged from the tabbed lists to a viewer to see more details and take further actions.
How to change the position of the menu tabs and tabbed lists:
-
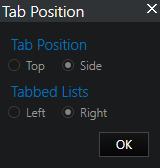
In the toolbar, click on the adjacent arrow of the Tabbed Lists button. The Tab Position window opens.
-
Select the preferred position.
-
Click on the OK button. The position is adjusted.
Show or hide menu tabs and tabbed lists:
There are two ways to show or hide the menu tabs and tabbed lists:
-
Click on the Tabbed Lists button in the toolbar.
-
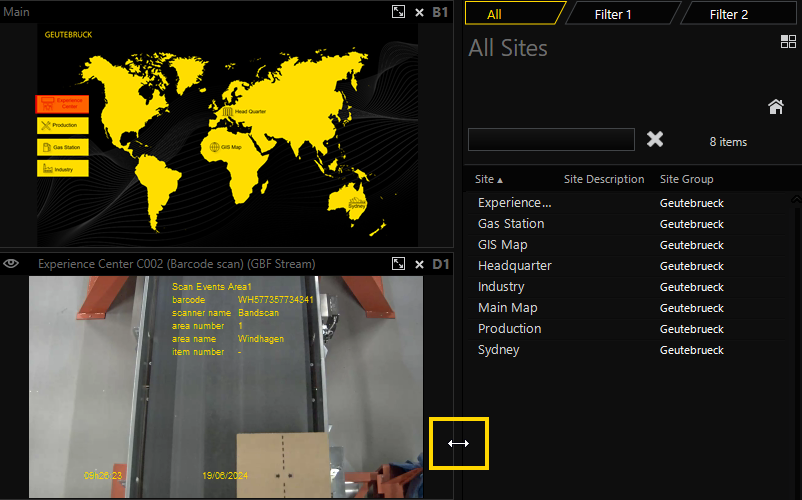
Use the left right open-headed arrow: Hold the mouse cursor between the tabbed list and a viewer until the mouse pointer changes into a left right open-headed arrow. Then double-click with the left or right mouse button.
Layout
Filter tabs:
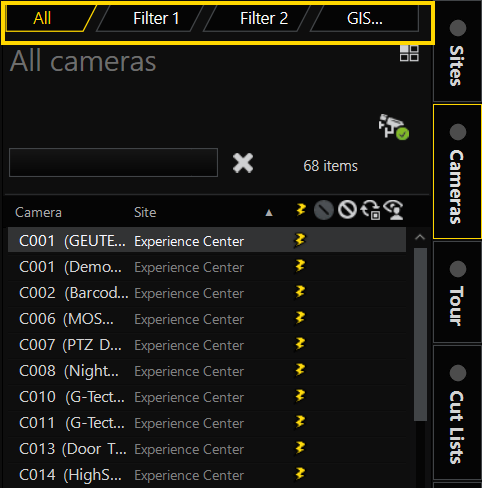
Under each menu tab you can find an individual tabbed lists area. At the top is a set of filter tabs that can be used to filter the tabbed list content. Depending on the tabbed list, the filter tabs vary. The first is usually All which is an unfiltered list, followed by two filter tabs, Filter 1 and Filter 2, that you can define (see Filtering).
Detail card:
Click on a list item to open the detail card which contains more detailed information and offers you various actions.
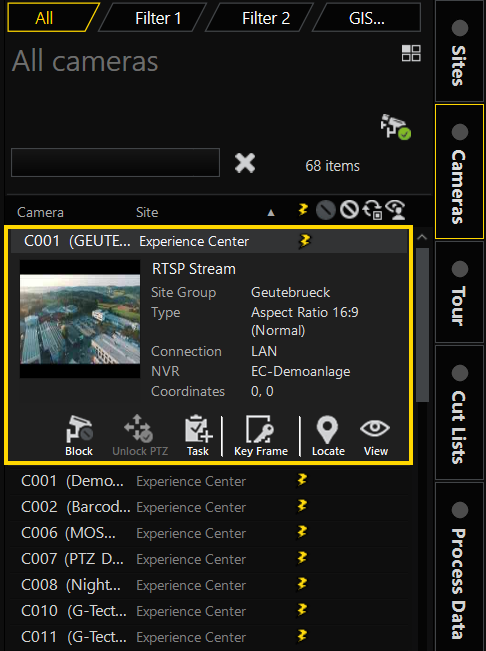
Colors:
The text colors of list items indicate the fixed properties of the item, e.g. in the camera list the different camera groups are indicated by different colored text.
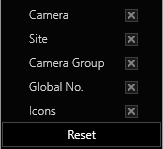
Configuration
You can select which columns are visible in the tabbed list for each menu tab. To do so, proceed as follows:
-
Click with the right mouse button on the tabbed list header. The context menu opens.
-
Select the columns that you want to be displayed in the tabbed list. The selected columns are now displayed.
-
To reset your present selection, click on the Reset button in the context menu.
Applying Filters
Most lists may be filtered by at least one filter criterion. A filter is set by clicking on the filter box and selecting an option from the list of available criteria, as explained in detail in Filtering.
Incremental Search
With some tabs you can do an incremental search to find a specific item.
How to do an incremental search in tabbed lists:
-
Select the list in which you want to search for a specific item.
-
Start typing the item name that you want to search. Possible results are displayed.
Multi-Selection
Some lists and some filter criteria allow you to select multiple items and batch process all the selected items.
How to select multiple items:
-
Select one list item.
-
Press and hold the
Ctrlkey while selecting the other list items. The selected rows are marked in grey.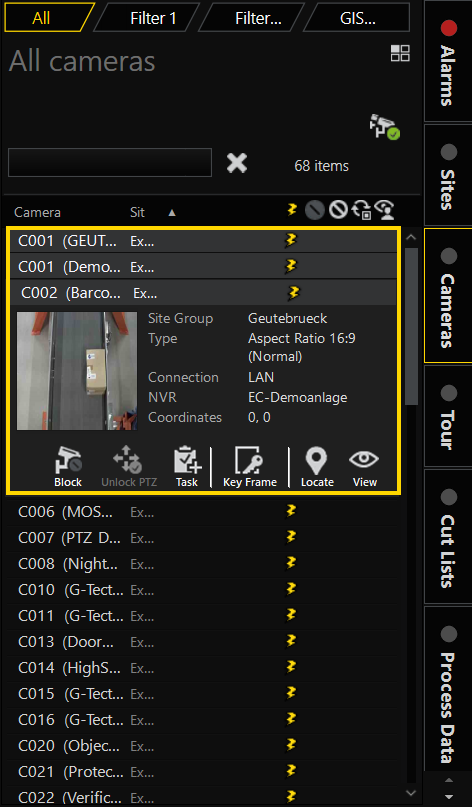
You can take actions for the selected items.